Ginger is a versatile plant prized for its culinary and medicinal uses. It’s a key ingredient in dishes like stir-fries and curries, adding a distinctive warmth and spice, and is also valued for easing nausea and aiding digestion. Growing ginger at home can save you money and provide fresher, more aromatic root pieces than shop-bought options. It’s surprisingly simple to grow, even in cooler climates. With the right approach, you can grow ginger even in the UK, where the climate poses some challenges.
Materials and Basics
Before you start, gather the following essentials:
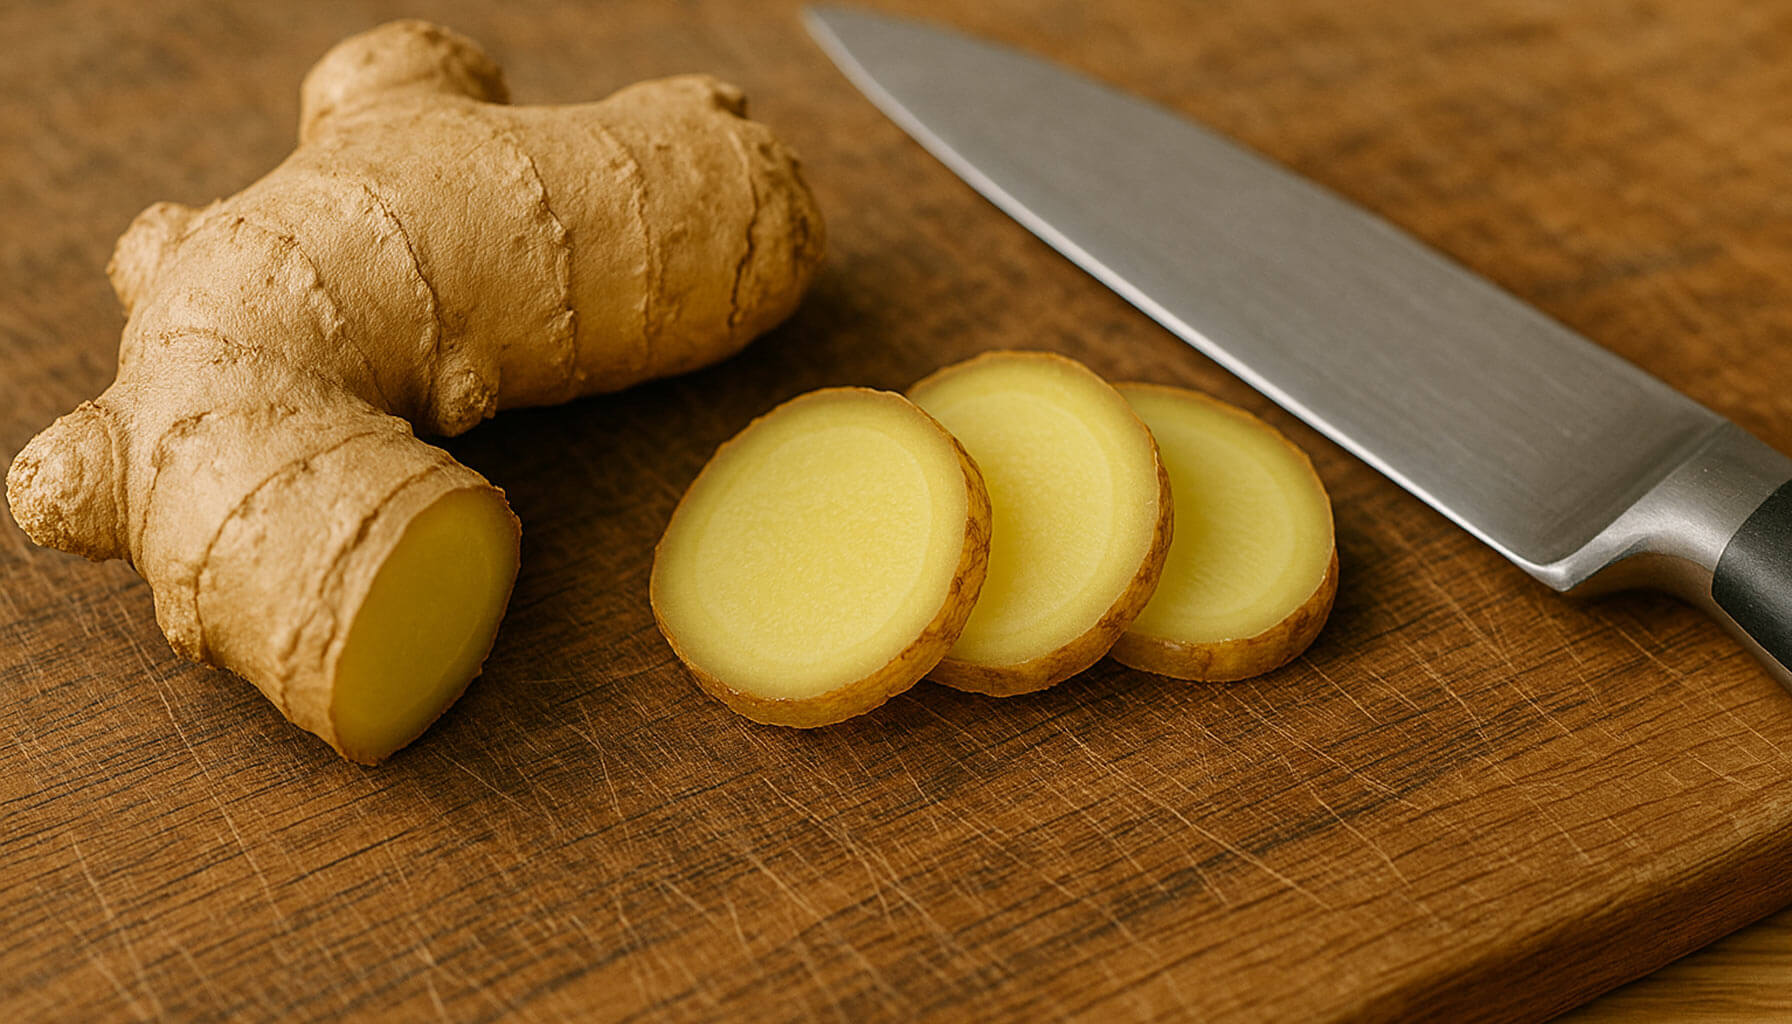
- Healthy Ginger Root Pieces: Purchase from garden centres or organic produce shops. Look for pieces with firm skin and visible growth buds (“eyes”), as these are the points from which new shoots will emerge, ensuring successful growth.
- Potting Mix: Use a well-draining soil mix rich in organic matter.
- Pots or Containers: Choose wide, shallow containers with drainage holes, as ginger root pieces spread horizontally.
- Water and Fertiliser: Prepare to keep the soil moist but not waterlogged and have a balanced fertiliser on hand.
Step-by-Step Guide to Growing Ginger
1. Planting Ginger
- When to Plant: Late winter to early spring is ideal for starting ginger indoors in the UK.
- Preparing Root Pieces:
- Select root pieces with visible growth buds.
- If the root is large, cut it into smaller pieces, ensuring each has at least one growth bud.
- Let the cut pieces dry for 24–48 hours to reduce the risk of rot.
- Planting:
- Fill your pot with potting mix that is evenly moist but not wet. The soil should feel damp to the touch, similar to a wrung-out sponge, leaving a few centimetres at the top.
- Place the root pieces horizontally, growth buds facing up, about 2–3 cm deep.
- Space multiple root pieces at least 5 cm apart if planting in the same container.
2. Creating the Ideal Growing Environment
- Temperature and Humidity:
- Ginger thrives in warm (20–30°C) and humid conditions. In the UK, keep plants indoors or use a heated greenhouse.
- Mist plants about once or twice a week to maintain humidity, adjusting based on how dry the environment is. Position the plants in a spot with partial sunlight or bright, indirect light. Avoid direct midday sunlight as it can scorch the leaves.
- Soil and Watering:
- Ensure the soil is well-draining to prevent waterlogging.
- Water regularly to keep the soil consistently moist but not soggy.
3. Caring for Your Ginger Plants
- Fertilising:
- Use a balanced liquid fertiliser every 4–6 weeks during the growing season.
- Incorporate compost or organic matter into the soil to boost nutrients.
- Managing Pests and Diseases:
- Aphids, small pear-shaped insects, often cluster on leaves and stems, leaving a sticky residue. Spider mites create fine webs on the underside of leaves. Check plants regularly for these pests and treat infestations with neem oil or insecticidal soap.
- Prevent root rot by avoiding overwatering and ensuring proper drainage.
- Pruning and Maintenance:
- Trim off yellowing or damaged leaves to keep the plant healthy. Check your plants every few weeks for discoloured or wilting leaves and remove them promptly to allow the plant to focus its energy on healthy growth.
Troubleshooting as You Grow
- Root Rot:
- Cause: Overwatering or poorly draining soil.
- Solution: Reduce watering frequency and improve soil drainage by mixing sand or perlite into the potting mix.
- Stunted Growth:
- Cause: Low temperatures or nutrient deficiencies.
- Solution: Relocate the plant to a warmer spot and fertilise regularly.
- Pests:
- Cause: Common pests like aphids or mites.
- Solution: Apply natural remedies, such as neem oil, and ensure good air circulation around the plants.
Harvesting Ginger
- When to Harvest:
- Ginger is ready for harvest 8–10 months after planting.
- For younger, tender ginger, you can harvest small pieces after 4–5 months.
- How to Harvest:
- Use a small spade to carefully dig around the root pieces, avoiding damage.
- Break off a portion of the root and re-cover the rest for continued growth.
- Storing Fresh Ginger:
- Wash and dry the harvested ginger thoroughly.
- Store it in the fridge or freeze for long-term use. To freeze, peel and slice the ginger into small pieces, or grate it for convenience. Frozen ginger can be used directly in cooking without defrosting. Place it in an airtight container or freezer bag, ensuring minimal air inside to preserve its flavour and texture.
Adapting for UK Conditions
- Indoor Growing:
- Use large pots placed in warm areas, such as near south-facing windows.
- Supplement natural light with grow lights during the darker months. Look for LED grow lights with a full spectrum and a wattage of around 20–40 watts for small indoor setups. Keep lights about 30 cm above the plants for optimal growth.
- Greenhouses and Polytunnels:
- Maintain temperatures above 15°C during colder months.
- Ensure proper ventilation to prevent excessive humidity or fungal diseases.
- Timing:
- Start planting indoors in late winter to give ginger a head start before the growing season.
Conclusion
Growing ginger at home is rewarding, especially when you taste the freshness of your harvest. Follow these steps, and you’ll soon enjoy fresh, aromatic ginger for your meals and remedies.